
Developing for any modern microcontroller requires one to connect to some firmware flashing tool or the other. Jlink is one of the the most popular ones out there. Just plug the Jlink to your USB port, and your development environment is usually nicely integrated with it. So you hit Program/ Flash button and your binary gets transferred and executed on your device/ target board. They also provide nifty command line tools that do the same processes over a text-console UI.
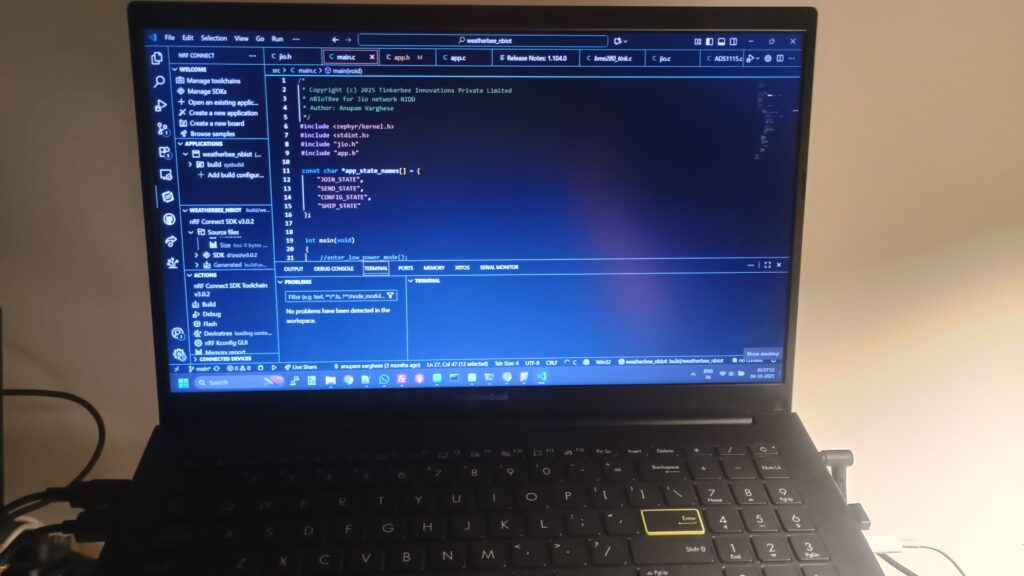
We recently started our journey with Nordic Semiconductor’s nrf9151 SoC. We developed a custom board that we programmed using VSCode and nRF Connect Tools via a Jlink programmer.

This is all fine while developing and prototyping. But, how do you update the firmware on a device (or rather ‘devices’) once its already been deployed? Its true that most wireless microcontroller devices do have an OTA update option, but many a times, especially for battery powered, low bandwidth devices, this may not be a viable option (too fragmented and/ or battery-sucking).
So how do you reflash such constrained devices that have already been deployed? Well, we found this out the hard way :). It turns out that you employ/ contract engineers to do this manually. First, ensure that their laptops have all the required flashing tools installed, along with the firmware files and the required connectors, and accessories such as USB-Serial converters (that can be used for feedback and device log/ verifying that the firmware has been updated as designed). Then you train them on how to use those tools on the computer, what to watch out for etc. And finally you need to co-ordinate with them on the field while you check the logs on the server-side to verify whether the assigned tasks have actually been flawlessly executed.
Or, lets say you have outsourced your hardware PCB/ assembly to another entity and would rather have them flash the chips with the firmware, test it and box the end unit directly for shipping. This requires them to install all the tools on their computers and for us to co-ordinate and train them as well. For such instances, specialized programmer jigs are usually developed that make this process much more seamless. But they are a significant investment and may not make sense below a certain scale.
The gist is that the scenarios described above are cumbersome, costly, equipment-heavy, SoP dependent and error-prone. Also, you kinda feel that you are not in control on the last mile of flashing.
That’s why we developed a nifty little tool that we are calling: PocketFlasher (or should we call it TinkFlasher?).
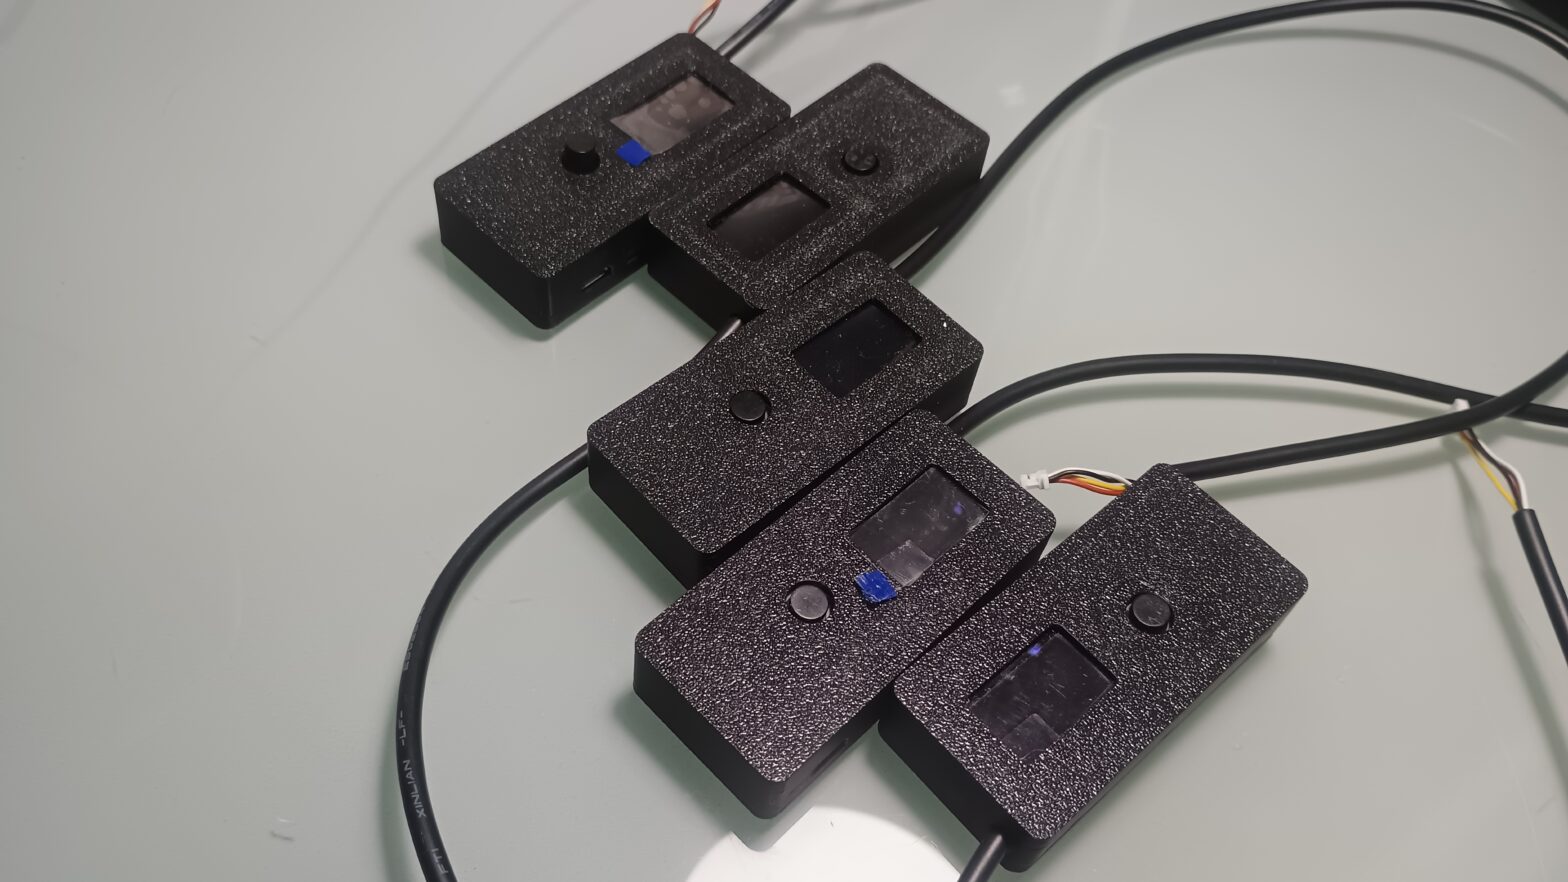
This is our custom code running on top of a Raspberry Pi W2, a Debian distro and all the necessary Nordic and Jlink tools baked in. It also has a serial UART monitoring code built in. And it can run a few hours off a regular power-bank!
This essentially shrinks the ‘computer’ required in the process to a tiny Pi (Zero) and the process to a single button click!
= Programming dumbed-down.
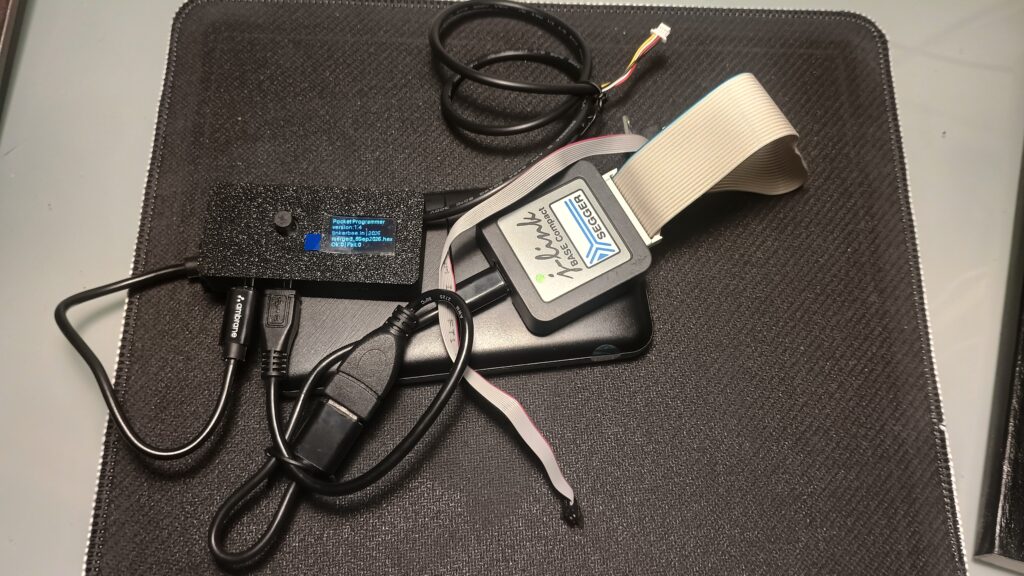
This is a game-changing dev gadget that enables ANYONE!, ANYWHERE!, to just plug in the SWD connector to the board’s programming port, plug in the UART (optional), press the button (the only button on it) and in a few seconds, erase, reflash, verify AND one can also specify keywords to check on the UART that can signal different steps to confirm firmware functionality (for example, we check for device IMEI, cell-id allocation on network registration, and downlink confirmation).

We have a nifty little 128×64 OLED soldered on it to give just the right feedback as well.
All the steps are also logged back on the SD card and can be verified once the unit is returned from the field.
Right now, the tool has been coded specifically for Nordic Semiconductor’s tool-set and Jlink, but it can easily be adapted to any SoC and any Programmer.
Work is also in progress to make it easy to update the firmware (currently hard-copied on the SD card) via access to WiFi hotspot/ Bluetooth phone.
Would you be interested to use this tool for your NRF boards? If yes, do let us know! Reach out to me directly via email at anupam at tinkerbee.in to know more